GETTING STARTED WITH IDEKIT
it is easy


Idekit Runtime is fully customizable and useable for different operation systems. Also different power and memory capacity is not problem. We support 32 and 64-bit CPU's.
Platform on your request, your custom PLC..
- Supports embedded platforms, desktop PC or virtual machines
- Rebranding and customer solution development
Custom design and business models of cooperation - Runs on OS Windows, Linux and FreeRTOS
- Proven development environment according to IEC 61131-3
IDE programming with functional blocks (FUPLA) or structured text (ST) - Supports serial ports
RS232, RS485, direct or virtual - Platform independent
- Open for integration
M-bus, BACnet, Modbus, OPC, cloud API, DB interface, IEC 62056-21
More about supported platforms
If you are interested..
in Idekit solution for own controller or platform, please don't to hesitate to contact us directly by our contact form on this website or use contact details below. You can also buy it or download it free of charge for testing. Solution is ready to download for common platforms.
Guide will help you with all the necessary steps for installation the product on your requested platform from downloading up to starting your very first project.
- Download suitable operating system Linux
Ubuntu or different distribution based on Debian/GNU Linux - Install the operating system and update it
- Install Idekit Runtime for Linux
- Start your first project!
Guide will help you with all the necessary steps for installation the product on your requested platform from downloading up to starting your very first project.
- Install Idekit Runtime for Windows
Product is a part of Idekit Studio installation package, install with it. - Start your first project!
Guide will help you with all the necessary steps for installation the product on your requested platform from downloading up to starting your very first project.
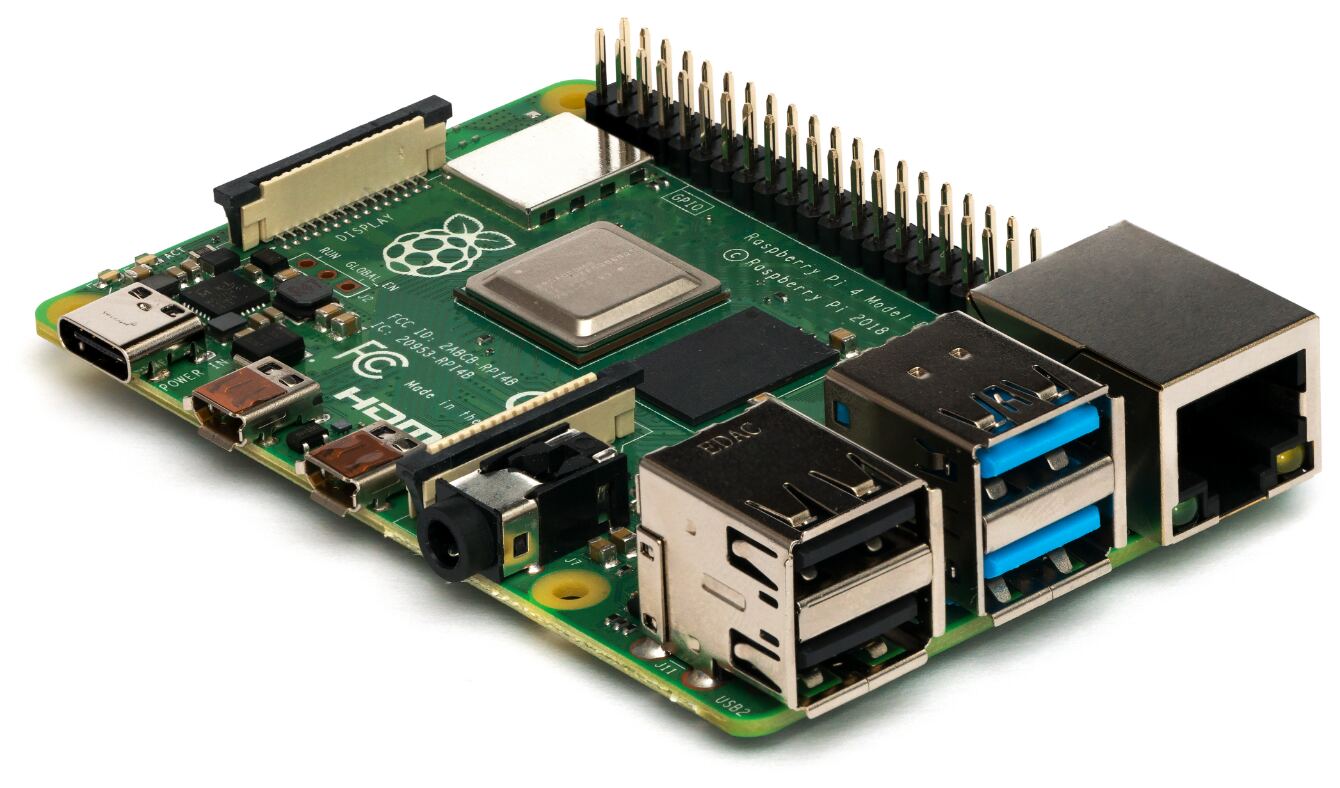
- Insert SD card into your computer
Minimum capacity is 4 GB - Download image and burn it to the SD card
Use suitable tool for example balenaEtcher, or different - Insert card to the Raspberry PI and power it up
- Start your first project!
Guide will help you with all the necessary steps for installation the product on your requested platform from downloading up to starting your very first project.
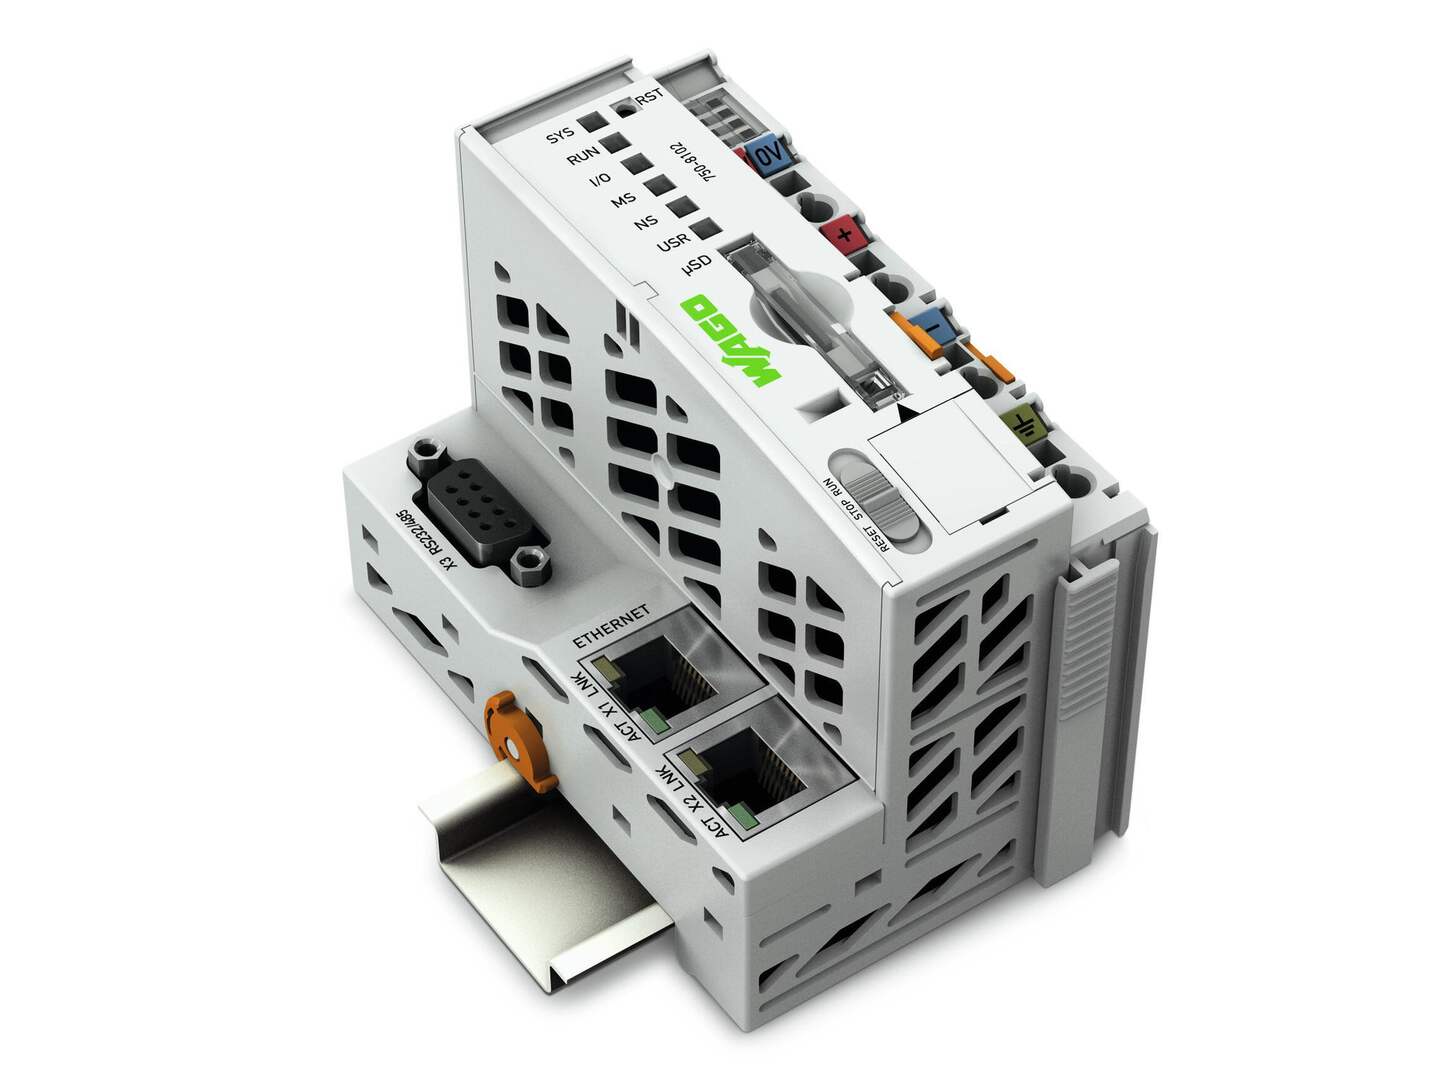
- Insert SD card into your computer
Minimum capacity is 4GB - Download image and burn it to the SD card
Use suitable tool Win32DiskImager - Insert the card into the Wago PLC and power it up
Wait for the flash to finish. After that process LED diod „SYS“ blinking with yellow color and LED diod „μSD“ stops blinking - Start your first project!